Swift Animation 内容层动画(四)

Posted by Calvin on 2017-06-26

CAShapeLayer 打造动态图表

CAShapeLayer 追本溯源

CAShapeLayer 是 QuartzCore 框架下非常重要的一个类,利用它可以实现各种图形的绘制类动画效果。

CAShapeLayer 是 iOS 框架下的核心动画部分,Shape 为形状的意思,描述了当前动画的特点,可以实现各类形状的绘制。

Layer 表明当前动画并非直接作用于 UIView 显示层上,而是作用于 Layer 内容层上。

动态折线图表

创建基于 UIView 的 LineChartView.swift 类

let PNGreen:UIColor = UIColor(red: 77.0/255.0, green: 186.0/255.0, blue: 122.0/255.0, alpha: 1.0)
var chartLine:CAShapeLayer = CAShapeLayer()
var pathAnimation:CABasicAnimation = CABasicAnimation()
override init(frame: CGRect) {
super.init(frame: frame)
self.backgroundColor = UIColor.white // 背景颜色为白色
self.clipsToBounds = true // 超出部分的裁剪属性
chartLine.lineCap = kCALineCapRound // 连接处的线条类型
chartLine.lineJoin = kCALineJoinRound // 拐角处的线条类型
chartLine.fillColor = UIColor.white.cgColor // 折线的填充颜色
chartLine.lineWidth = 10.0 // 线条宽度
chartLine.strokeEnd = 0.0 // 线条一点点进行绘制
self.layer.addSublayer(chartLine)
}
required init?(coder aDecoder: NSCoder) {
fatalError("init(coder:) has not been implemented")
}
func drawLineChart(){
chartLine.strokeEnd = 1.0
chartLine.add(pathAnimation, forKey: nil)
}
override func draw(_ rect: CGRect) {
let line:UIBezierPath = UIBezierPath()
line.lineWidth = 10.0
line.lineCapStyle = CGLineCap.round
line.lineJoinStyle = CGLineJoin.round
line.move(to: CGPoint(x: 70, y: 260))
line.addLine(to: CGPoint(x: 140, y: 100))
line.addLine(to: CGPoint(x: 210, y: 240))
line.addLine(to: CGPoint(x: 280, y: 170))
line.addLine(to: CGPoint(x: 350, y: 220))
chartLine.path = line.cgPath
chartLine.strokeColor = PNGreen.cgColor
pathAnimation.keyPath = "strokeEnd"
pathAnimation.timingFunction = CAMediaTimingFunction(name: kCAMediaTimingFunctionLinear)
pathAnimation.fromValue = 0.0
pathAnimation.toValue = 1.0
pathAnimation.autoreverses = false
pathAnimation.duration = 2.0
}

动态柱状图动画

创建基于 UIView 的 BarChartView 类

var chartLine:CAShapeLayer = CAShapeLayer()
var pathAnimation:CABasicAnimation = CABasicAnimation()
override init(frame: CGRect) {
super.init(frame: frame)
self.backgroundColor = UIColor.white
self.clipsToBounds = true
chartLine.lineCap = kCALineCapSquare
chartLine.lineJoin = kCALineJoinRound
chartLine.fillColor = UIColor.gray.cgColor
chartLine.lineWidth = 30.0
chartLine.strokeEnd = 0.0
self.layer.addSublayer(chartLine)
}
required init?(coder aDecoder: NSCoder) {
fatalError("init(coder:) has not been implemented")
}
func drawLineChart(){
chartLine.strokeEnd = 1.0
chartLine.add(pathAnimation, forKey: nil)
}
override func draw(_ rect: CGRect) {
let line:UIBezierPath = UIBezierPath()
line.lineWidth = 30.0
line.lineCapStyle = CGLineCap.square
line.lineJoinStyle = CGLineJoin.round
for i in 0...4 {
let x:CGFloat = CGFloat(60+70*i)
let y:CGFloat = CGFloat(100+20*i)
line.move(to: CGPoint(x: x, y: 215))
line.addLine(to: CGPoint(x: x, y: y))
}
chartLine.path = line.cgPath
chartLine.strokeColor = PNGreen.cgColor
pathAnimation.keyPath = "strokeEnd"
pathAnimation.timingFunction = CAMediaTimingFunction(name: kCAMediaTimingFunctionLinear)
pathAnimation.fromValue = 0.0
pathAnimation.toValue = 1.0
pathAnimation.autoreverses = false
pathAnimation.duration = 2.0
}

调用

class ViewController: UIViewController {
var lineChartView1:LineChartView?
var barChartView1:BarChartView?
override func viewDidLoad() {
super.viewDidLoad()
lineChartView1 = LineChartView(frame: self.view.bounds)
self.view.addSubview(lineChartView1!)
barChartView1 = BarChartView(frame: CGRect(x: 0, y: self.view.bounds.height/2.0, width: self.view.bounds.width, height: self.view.bounds.height))
self.view.addSubview(barChartView1!)
self.addDrawChartButton()
self.addAxes()
}
func addAxes(){
// LineChart
for i in 1...5{
let xAxesTitle:String = "SEP"+"\(i)"
let xAxesLabel:UILabel = UILabel(frame: CGRect(x: 50+(CGFloat(i)-1)*70,y: 300, width: 50, height: 20))
xAxesLabel.text = xAxesTitle
self.view.addSubview(xAxesLabel)
}
for i in 0...5{
let yAxesTitle:String = "\(10-i*2)"
let yAxesLabel:UILabel = UILabel(frame: CGRect(x: 20,y: 120+(CGFloat(i)-1)*35, width: 20, height: 20))
yAxesLabel.text = yAxesTitle
self.view.addSubview(yAxesLabel)
}
// BarChart
for i in 1...5{
let xAxesTitle:String = "SEP"+"\(i)"
let xAxesLabel:UILabel = UILabel(frame: CGRect(x: 40+(CGFloat(i)-1)*70,y: 600, width: 50, height: 20))
xAxesLabel.text = xAxesTitle
self.view.addSubview(xAxesLabel)
}
}
func addDrawChartButton(){
let bt_line:UIButton = UIButton()
bt_line.frame = CGRect(x: (self.view.frame.size.width-100)/2, y: 20, width: 100, height: 50)
bt_line.setTitle("Line Chart", for: UIControlState())
bt_line.setTitleColor(PNGreen, for: UIControlState())
bt_line.addTarget(self, action: #selector(ViewController.drawChart), for: UIControlEvents.touchUpInside)
self.view.addSubview(bt_line)
}
func drawChart(){
lineChartView1!.drawLineChart()
barChartView1!.drawLineChart()
}
}
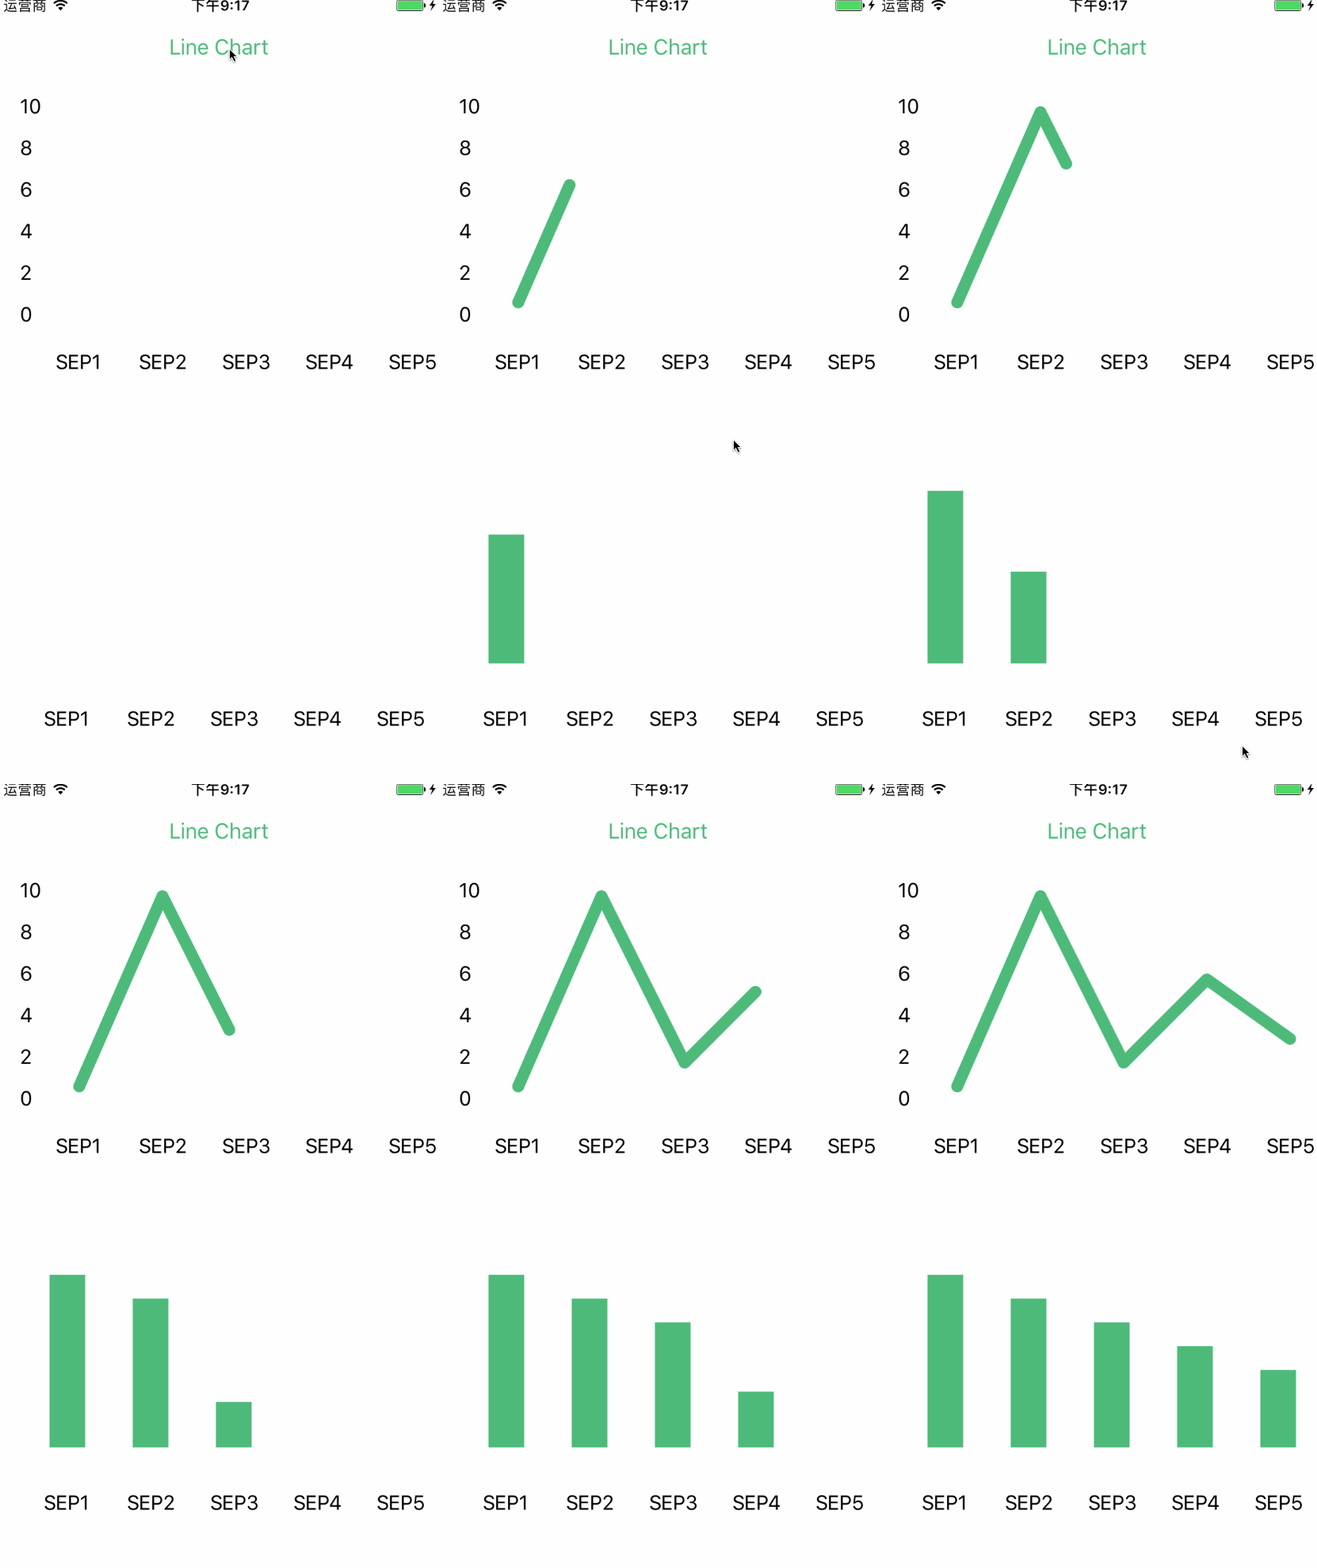
效果如下:

2017062514983966923811.gif

上文代码:点击查看

CAReplicatorLayer:图层复制效果

CAReplicatorLayer 主要由三个部分组成:CA、 Replicator、 Layer。CA 为 CoreAnimation 的缩写,表明我们当前的动画使用的是 iOS 框架下的核心动画框架, Replicator 表示该图层可以用于图层的快速复制。 Layer 表明当前动画并非直接作用于 UIView 显示层上,而是作用在 Layer 内容层上。

恒星旋转动画实现

let UISCREEN_WIDTH = UIScreen.main.bounds.size.width
let UISCREEN_HEIGHT = UIScreen.main.bounds.size.height
var replicatorLayer:CAReplicatorLayer = CAReplicatorLayer()
var iv_earth:UIImageView?
override func viewDidLoad() {
super.viewDidLoad()
let background:UIImageView = UIImageView(frame: CGRect(x: 0, y: 0, width: UISCREEN_WIDTH, height: UISCREEN_HEIGHT))
background.image = UIImage(named: "background.jpg")
self.view.addSubview(background)
iv_earth = UIImageView(frame: CGRect(x: (UISCREEN_WIDTH-50)/2+150, y: (UISCREEN_HEIGHT-50)/2, width: 50, height: 50))
iv_earth!.image = UIImage(named: "earth.png")
let iv_sun = UIImageView(frame: CGRect(x: 0, y: 0, width: 50, height: 50))
iv_sun.center = self.view.center
iv_sun.image = UIImage(named: "sun.png")
replicatorLayer.addSublayer(iv_earth!.layer)
replicatorLayer.addSublayer(iv_sun.layer)
}
override func viewWillAppear(_ animated: Bool) {
let path:UIBezierPath = UIBezierPath()
path.addArc(withCenter: CGPoint(x: self.view.center.x, y: self.view.center.y), radius: 150, startAngle: 0, endAngle: CGFloat(M_PI*2), clockwise: true)
path.close()
let animation:CAKeyframeAnimation = CAKeyframeAnimation(keyPath:"position")
animation.path = path.cgPath
animation.duration = 10
animation.repeatCount = MAXFLOAT
replicatorLayer.instanceCount = 100
replicatorLayer.instanceDelay = 0.2
self.view.layer.addSublayer(replicatorLayer)
iv_earth?.layer.add(animation, forKey: nil)
}

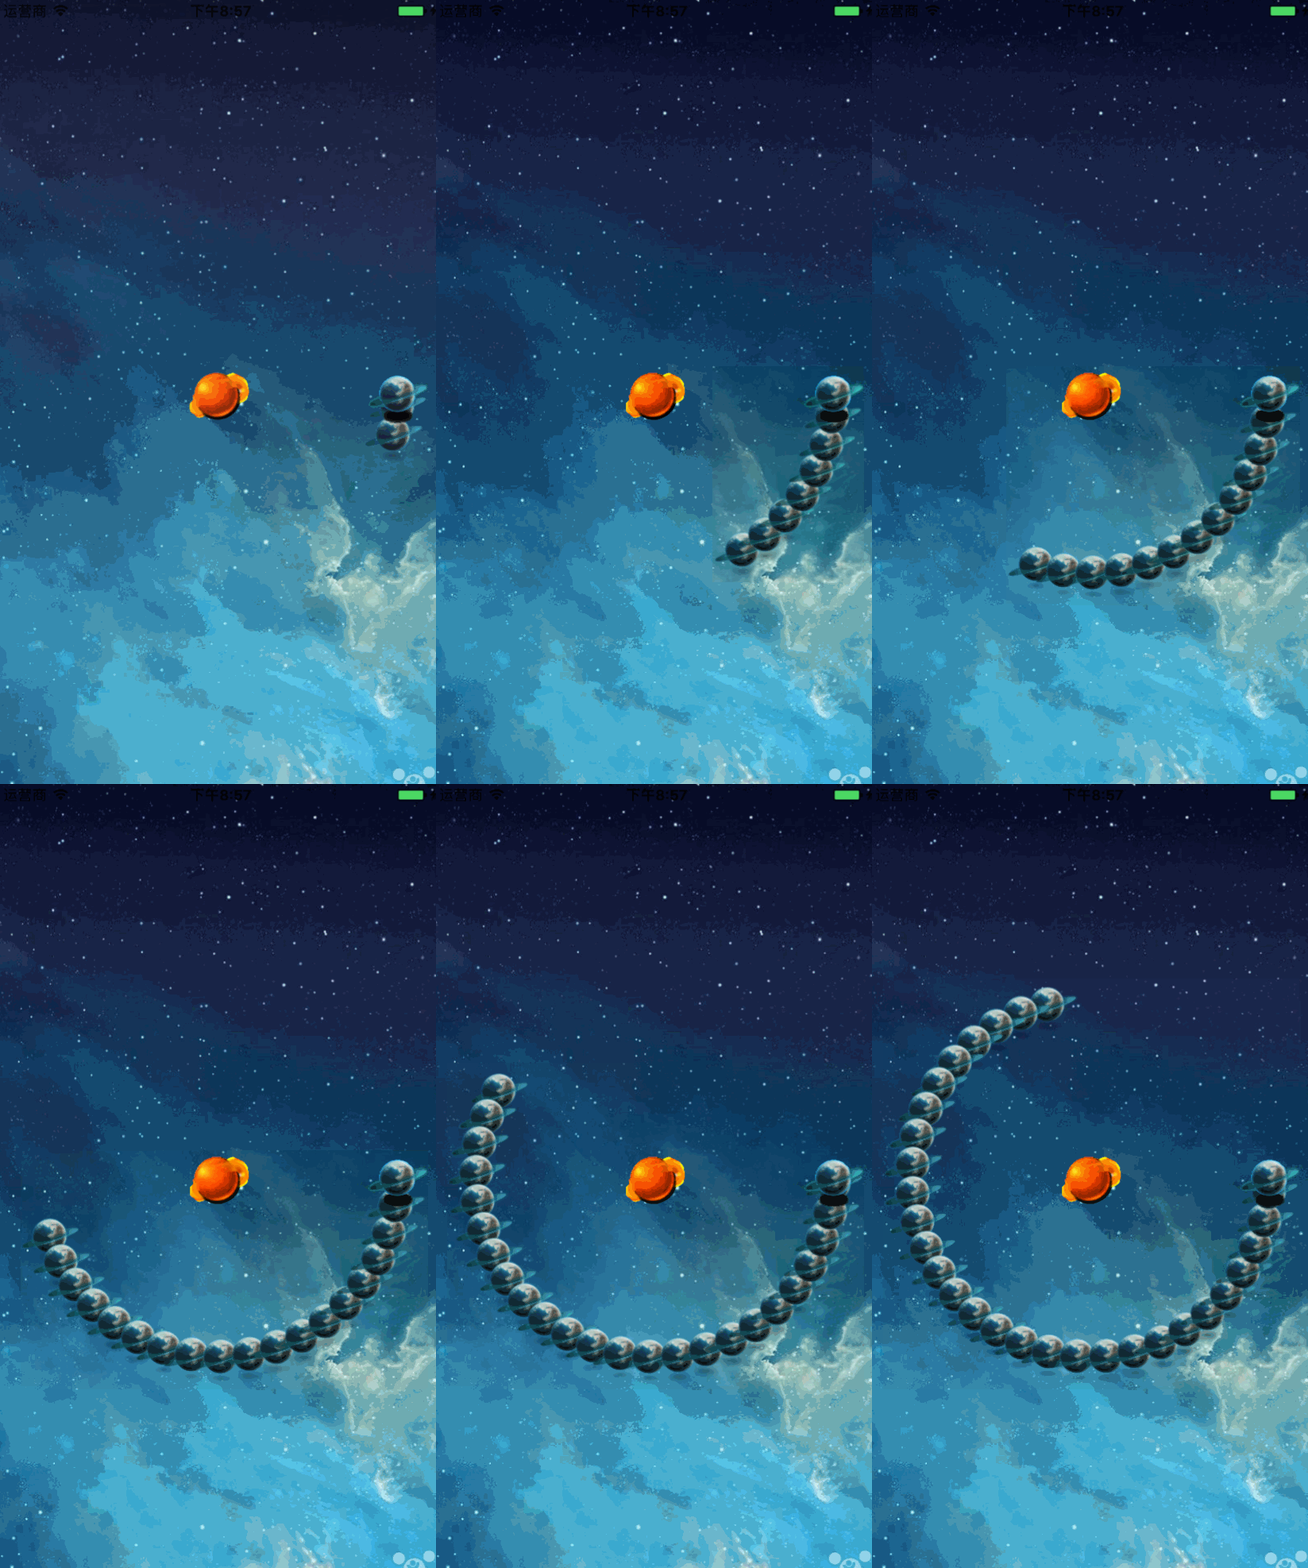
效果如下:

201706261498481874461.gif

音量跳动动画

let replicatorLayer:CAReplicatorLayer = CAReplicatorLayer()
replicatorLayer.frame = CGRect(x: 0, y: 0, width: 414, height: 200)
replicatorLayer.instanceCount = 20;
replicatorLayer.instanceTransform = CATransform3DMakeTranslation(20, 0, 0)
replicatorLayer.instanceDelay = 0.2
replicatorLayer.masksToBounds = true
replicatorLayer.backgroundColor = UIColor.black.cgColor;
let layer = CALayer()
layer.frame = CGRect(x: 14, y: 200, width: 10, height: 100)
layer.backgroundColor = UIColor.red.cgColor
replicatorLayer.addSublayer(layer)
self.view.layer.addSublayer(replicatorLayer)
let animation:CABasicAnimation = CABasicAnimation()
animation.keyPath = "position.y"
animation.duration = 0.5
animation.fromValue = 200
animation.toValue = 180
animation.autoreverses = true
animation.repeatCount = MAXFLOAT
layer.add(animation, forKey: nil)

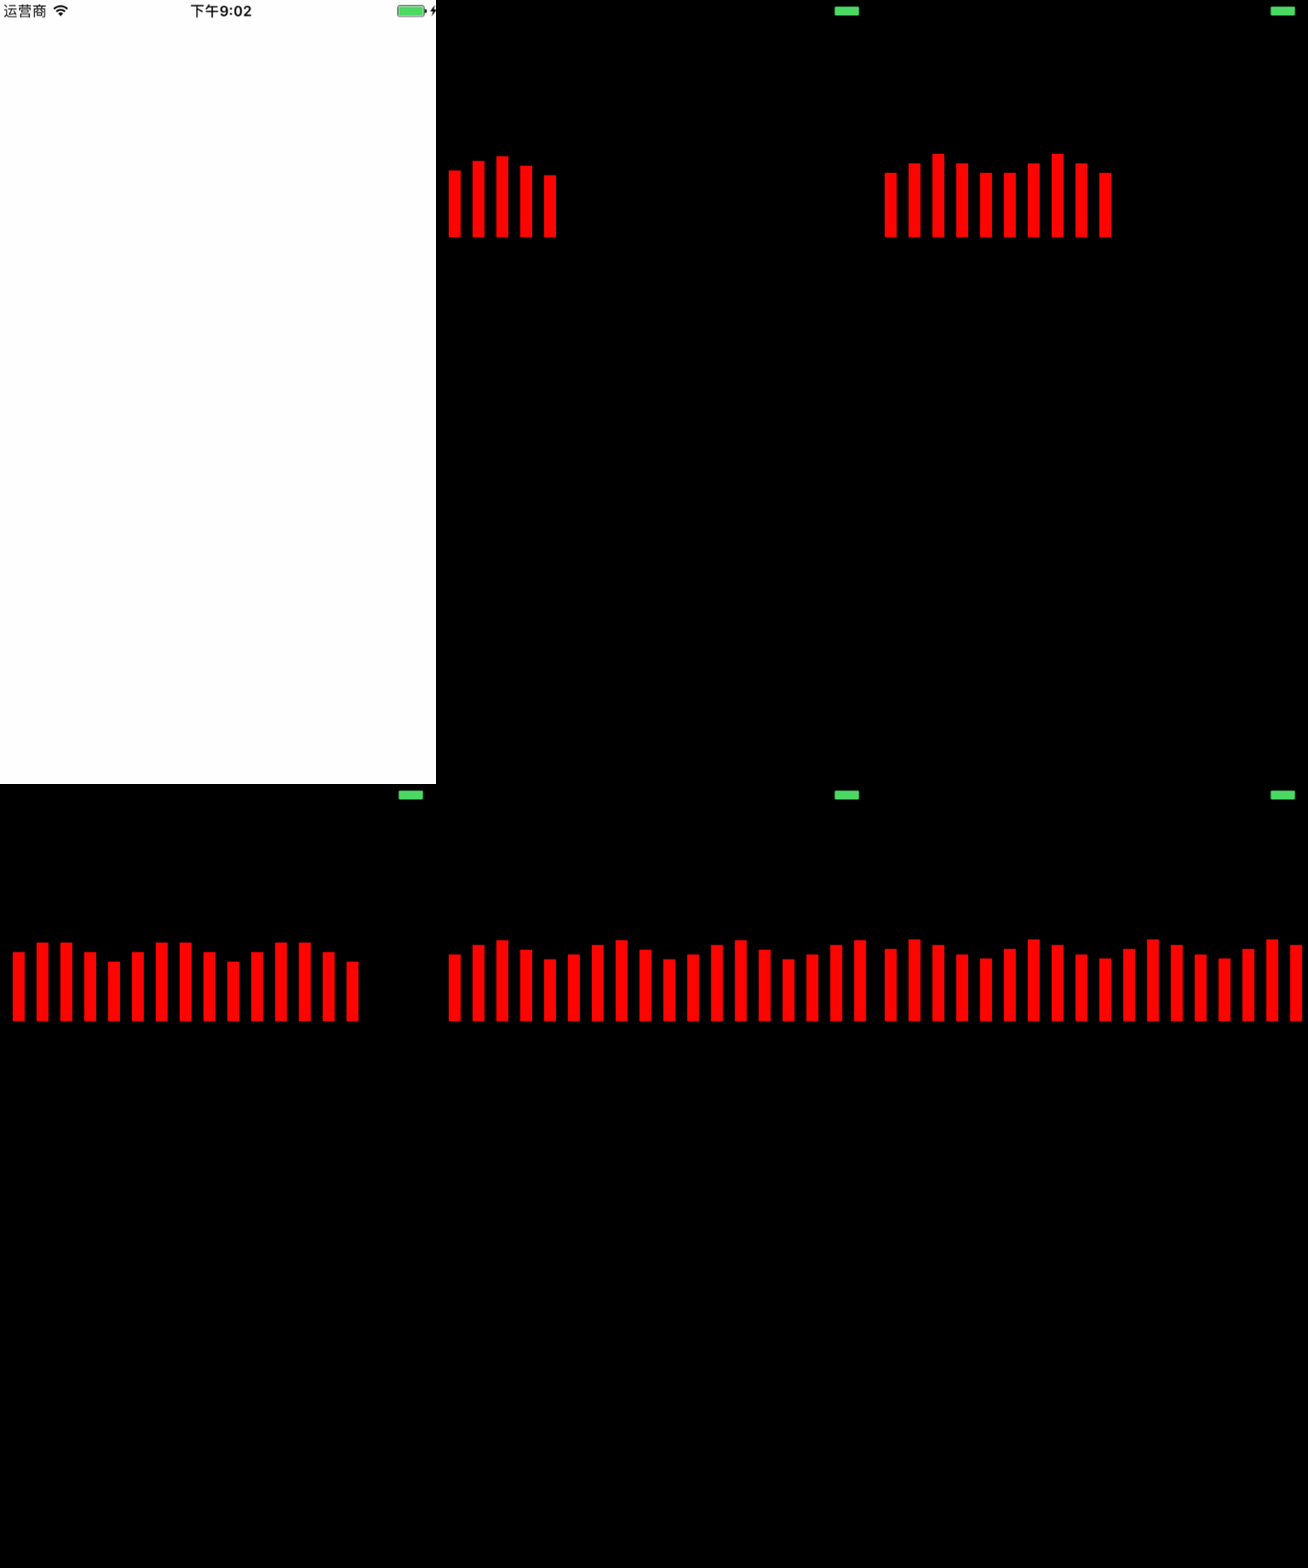
效果如下:

20170626149848216448994.gif

上文代码:点击查看